Limits constrain where ONSTEP may move or continue tracking. When a limit is triggered, movement in the affected direction stops and the corresponding error appears under Mount Info.
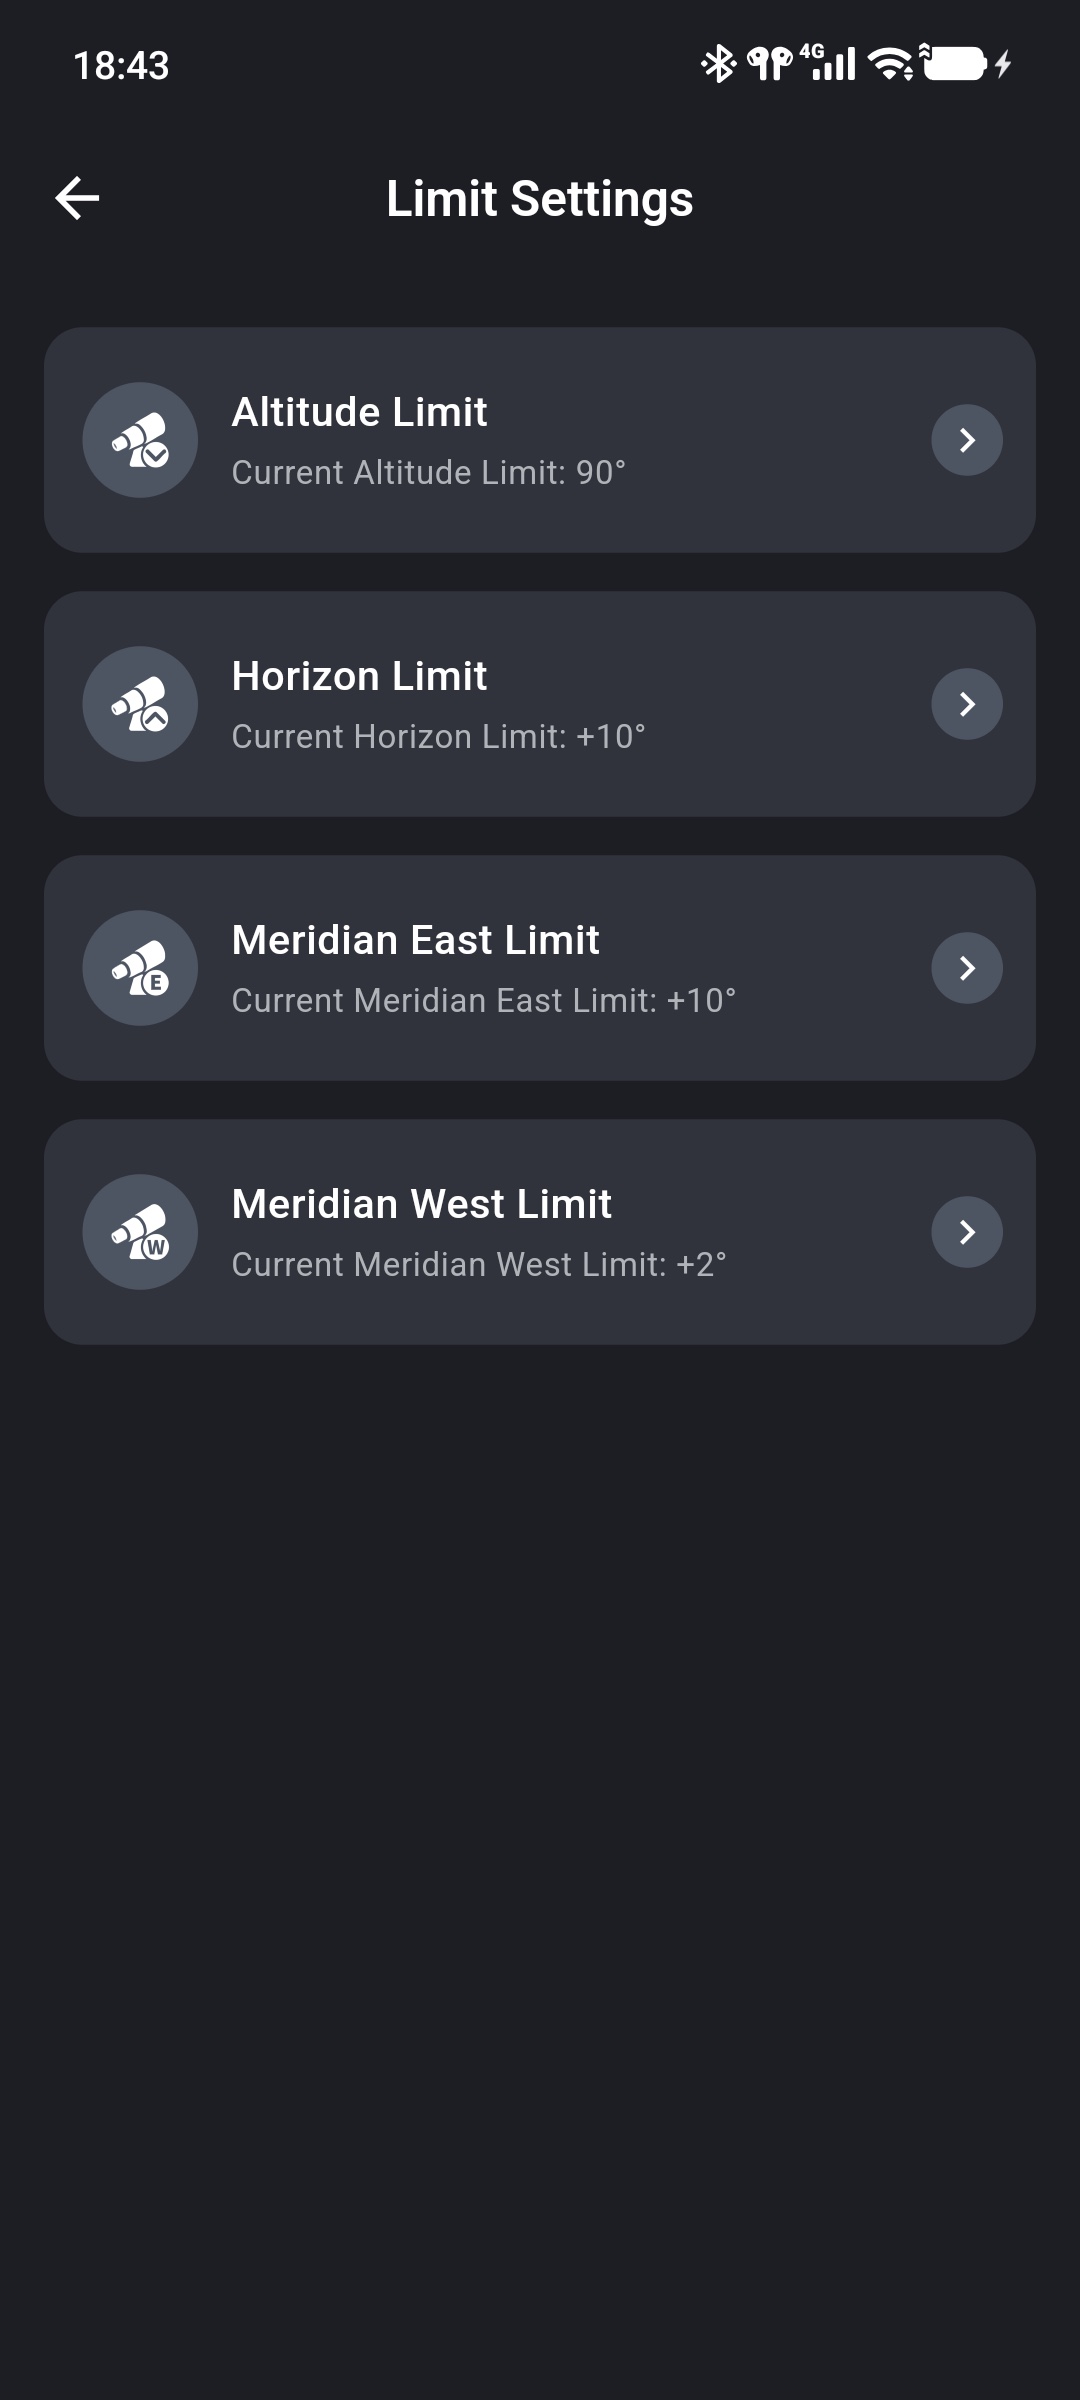
Open Setup & Alignment and select Limit Settings to view the four current limits.
Before setting limits
Choose limits according to the mount structure, optical-tube length, counterweight position, and cable allowance. Software limits do not replace direct observation and cannot prevent every mechanical collision. Leave adequate safety margins during initial setup.
Altitude Limit
Altitude Limit sets the highest altitude the telescope may reach. Its range is 60°–90°.
Tap Altitude Limit, select an angle, and tap OK. After Altitude Limit Set Successfully appears, the page displays the value currently used by the mount.
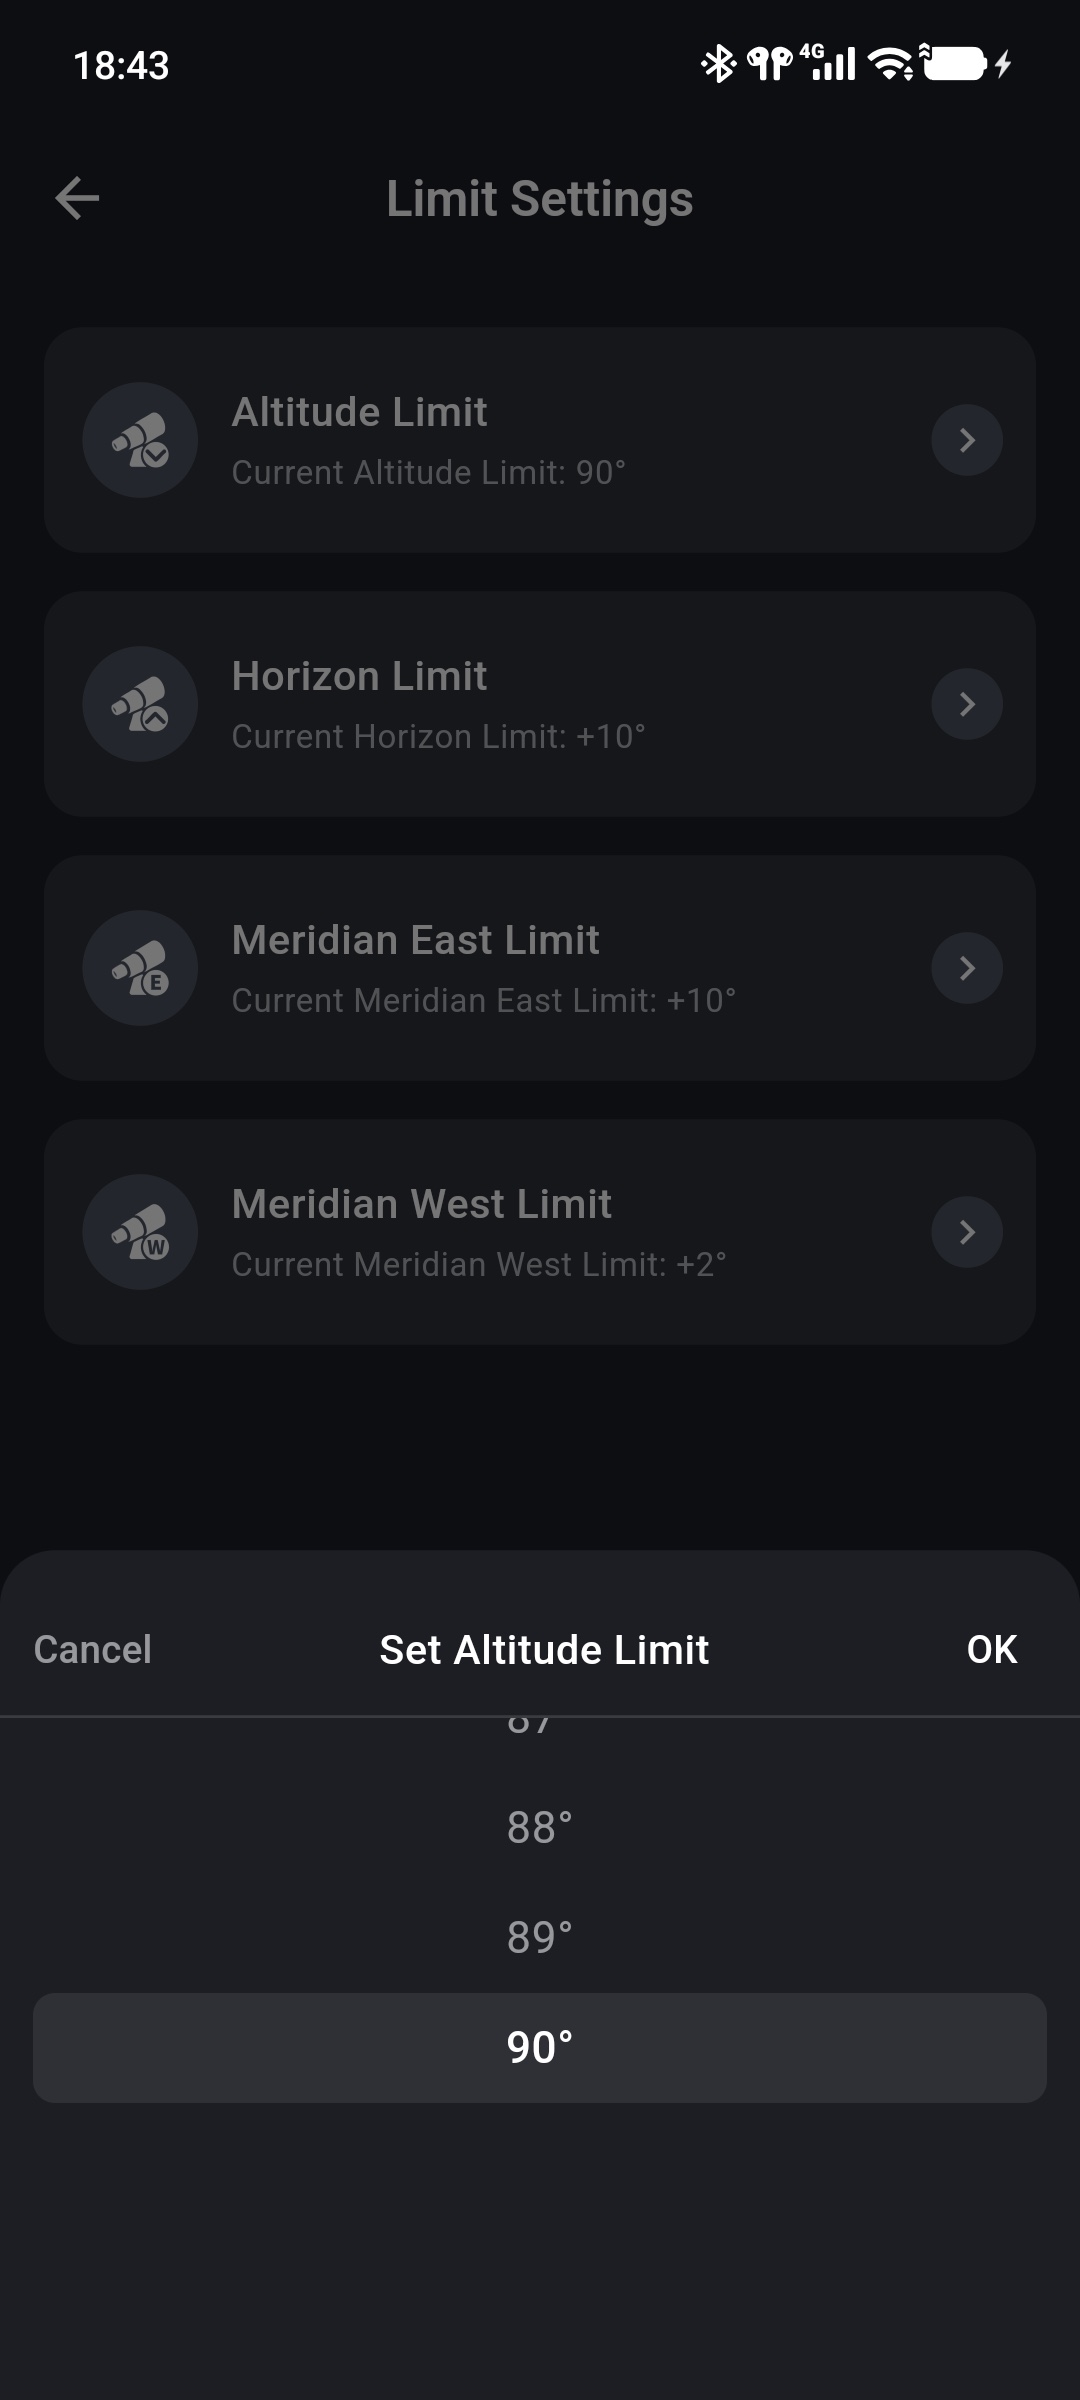
A lower value stops the mount earlier as it approaches the zenith; a higher value permits a higher position. Choose the value according to the physical mount geometry.
Horizon Limit
Horizon Limit sets the lowest altitude the telescope may reach. Its range is -30°–+30°.
A positive value keeps the mount that many degrees above the horizon—for example, +10° prevents pointing below an altitude of 10°. A negative value permits pointing that many degrees below the horizon.
Tap Horizon Limit, choose the sign and angle, and tap OK. Areas near the horizon are often affected by terrestrial obstructions and the atmosphere, so raise this limit when appropriate for the site.
Meridian East and West Limits
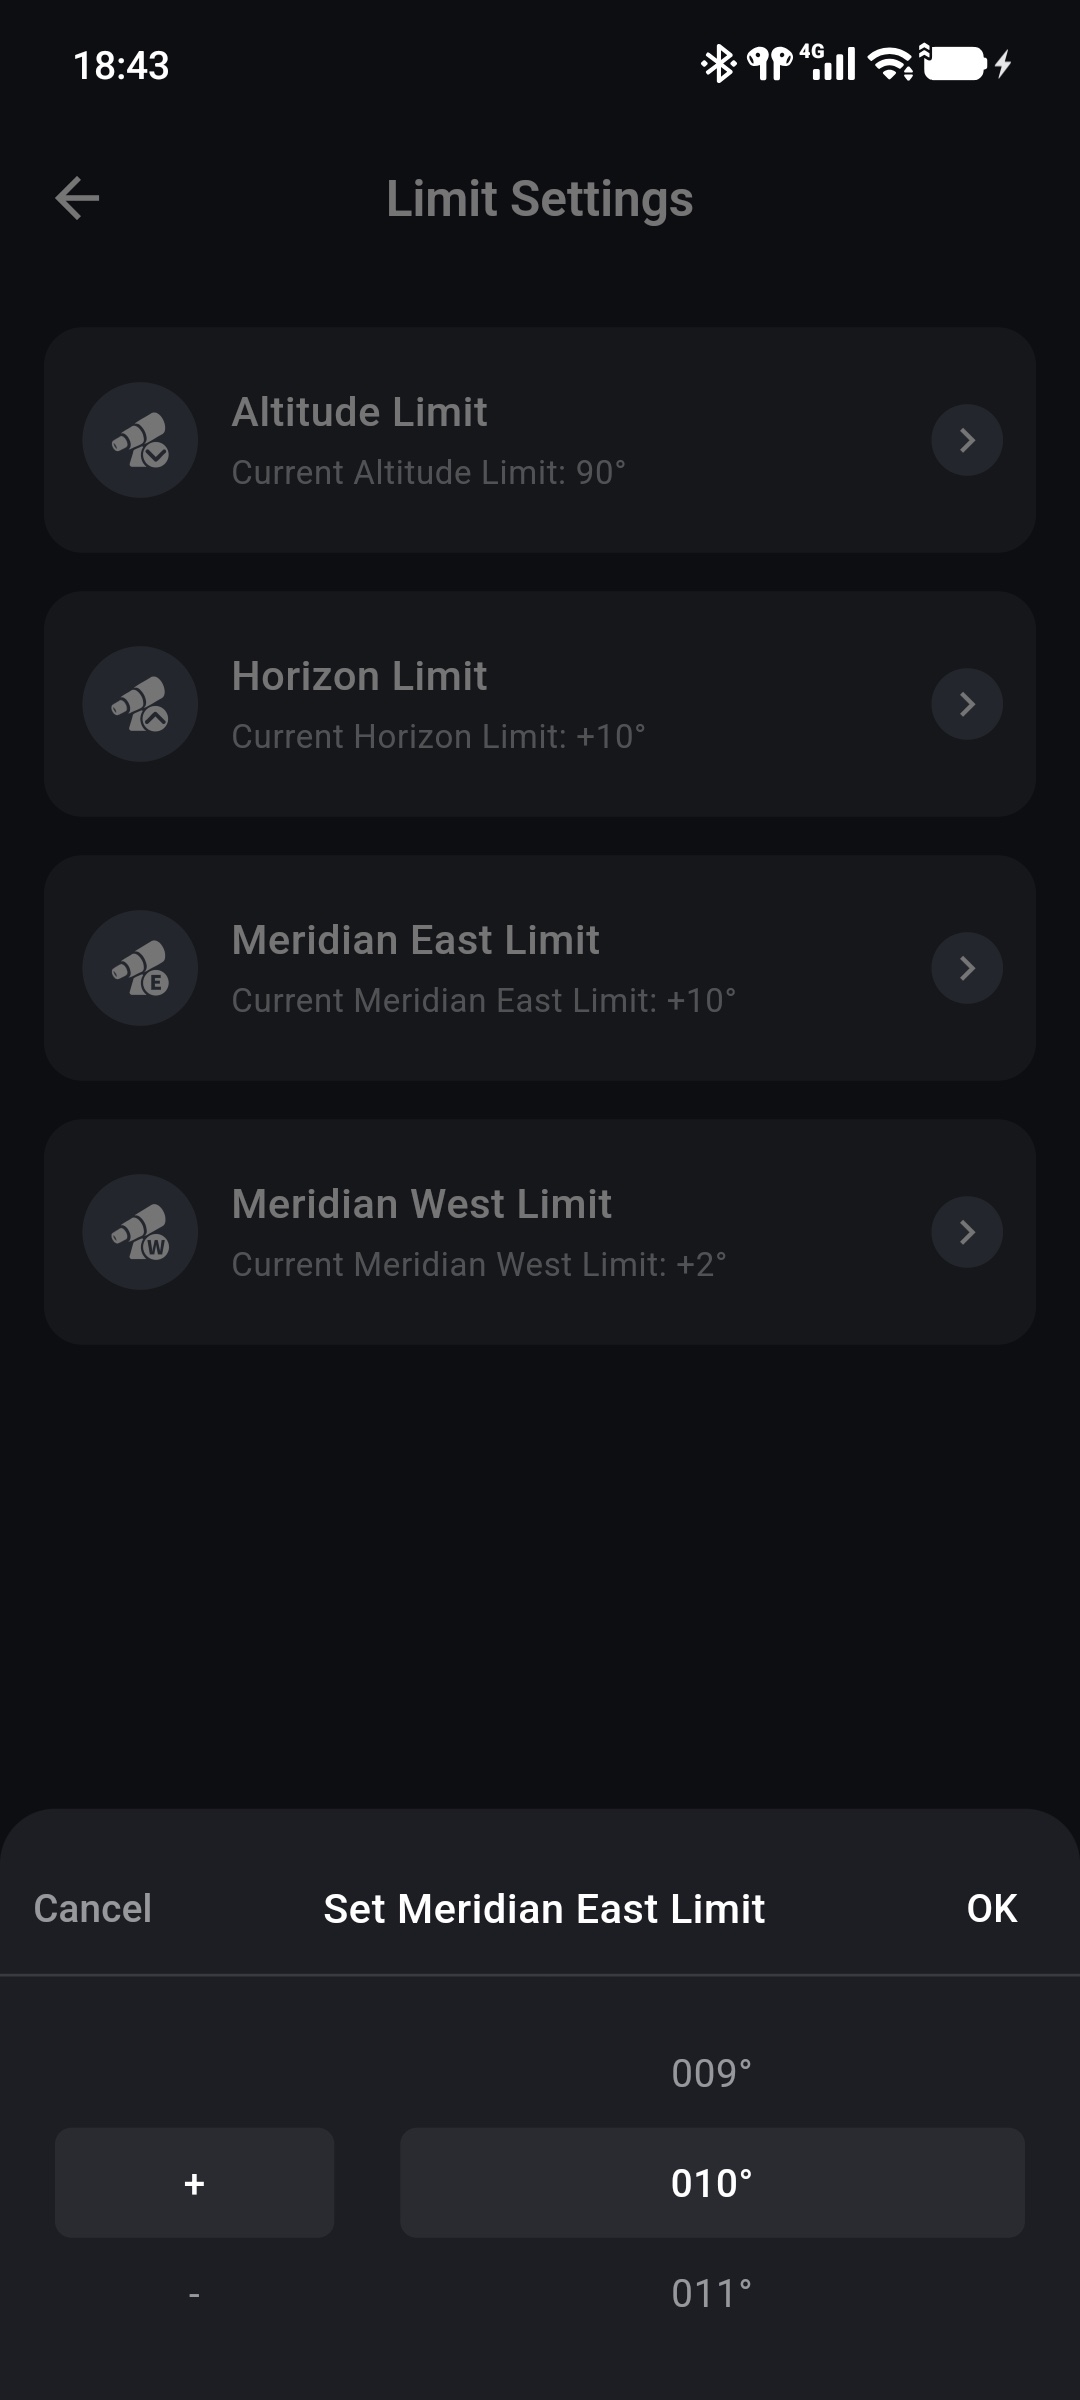
Meridian East Limit and Meridian West Limit separately constrain how far the mount may continue operating on either side of the meridian. Both range from -90° to +90°.
These values affect meridian tracking and flips. Tap either limit, choose the sign and angle, and tap OK.
Meridian limits and automatic flips
East and west meridian limits affect how far the mount may continue near the meridian. After changing them, also review Auto Meridian Flip under Slewing and Meridian Flips.
Determine Safe Limits
No single set of values is safe for every installation. Check in this order:
- Set initial values from the safe ranges provided by the mount and optical-tube suppliers.
- Check clearance for the optical tube, camera, guide scope, counterweights, and cables in every direction.
- Test at a low slew rate while continuously observing clearance from the tripod, base, and cables.
- Recheck all limits after changing the optical tube, camera, or counterweight position.
Do not select maximum limits merely to increase the observable range. First ensure that every movement path retains a safety margin.
When a Limit Is Triggered
After a limit triggers, Error under Mount Info displays the relevant state, such as Horizon Limit Triggered, Altitude Limit Triggered, or Meridian Limit Triggered.
Then:
- Immediately check whether the optical tube, counterweights, and cables are safe.
- After confirming that reverse movement is safe, use the direction controls and a low rate from Start Controlling to move away from the limit.
- Determine why it triggered before deciding whether the limit needs adjustment.
Limits reduce the risk of equipment collisions. Do not loosen them solely to clear an error message.